Page 9

The roof and frame.

I should have looked a bit harder when I brought my camper, or at least looked at others before I went ahead and brought mine. The roof is (or was) a real mess. I phoned around a few places to see what I could do about it and then I found out the real truth, Which is that my van wasn't a genuine conversion. The main difference apart from the quality is that the side-opening roof is in the wrong place; it should be at the front of the van so it is above the front cab, but mine is at the back off the van. When I had a good look at the roof I decided that I like the pop-top where it was, mainly because only one of the roof support has been cut thought the other one is still intact.

The other big problem is the hole that is cut in the roof is the wrong size, it is to long and to wide, and the frame doesn't fit.

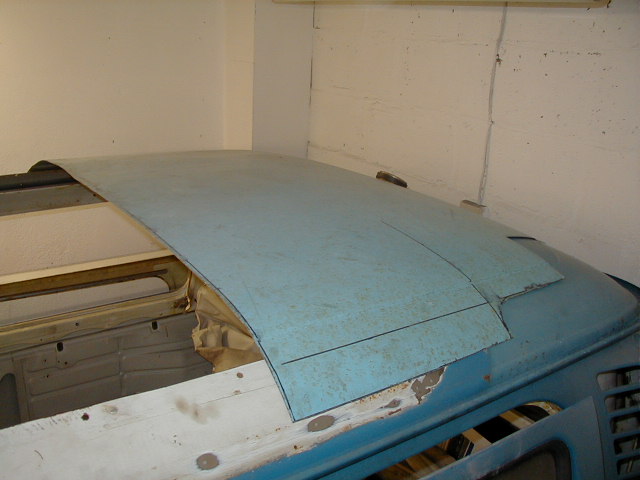
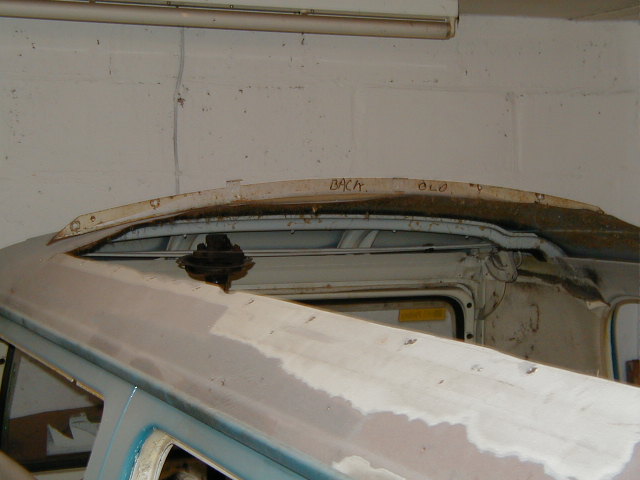
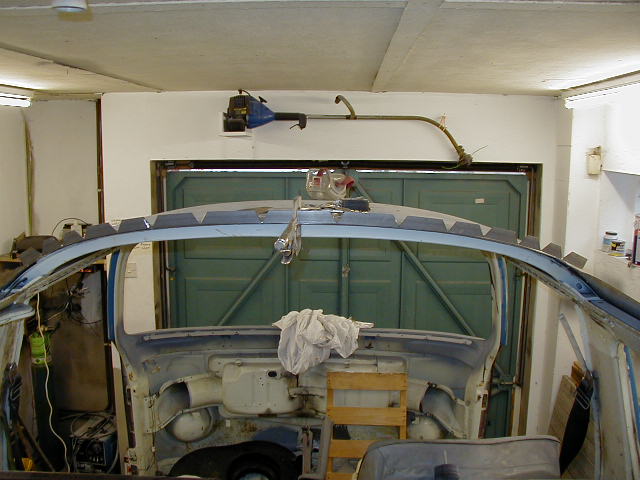
Because the front rollover loop is still in place the roof is held in the right contour, which means the frame, which is a genuine frame isn't curved enough, so there are gaps at the ends of the frame. The only way I could see to sort this out was to make my own frame and fill in the gaps with sections of another roof. I had already managed to get another roof from a bloke who was breaking his camper, so I decided to get some angle iron and try and make a frame up. And it wasn't that hard.

This series of picture show how I made the frame up and the next page shows the repairs to the roof.

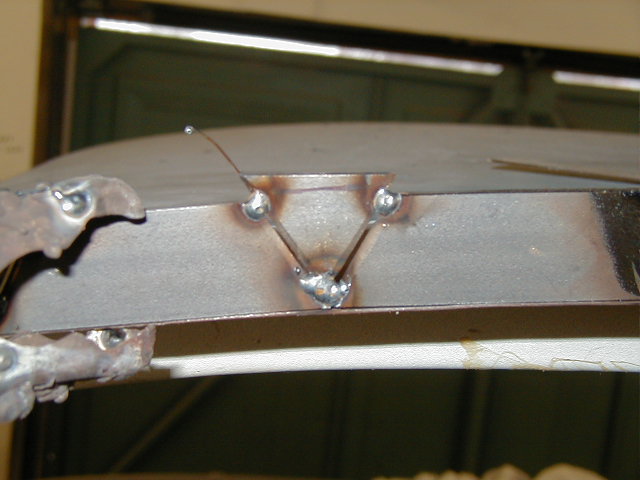
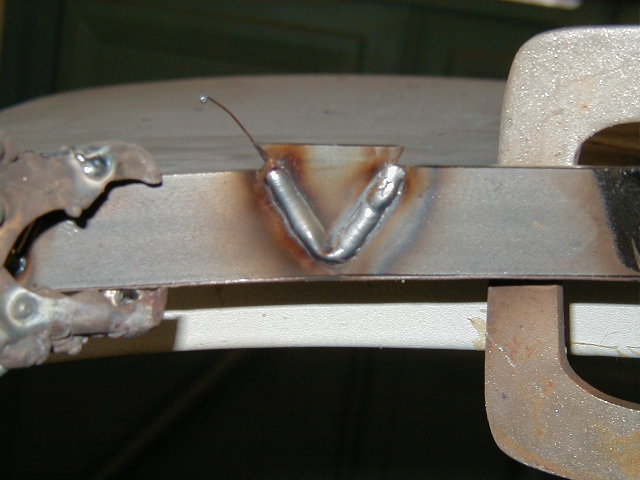
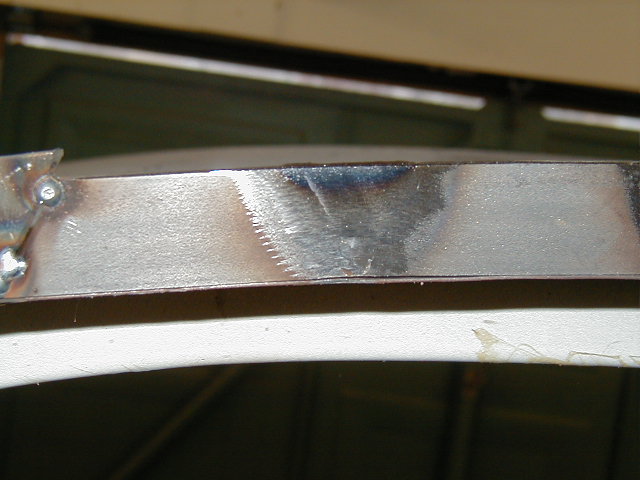
The angle iron I used is "Bright" as apposed to black angle and I got it from the local fabricators who cut it to size for me. You cant just simple bend angle to the right shape so I decided to cut little V's out of it as show in the above picture then bent it to the right shape. Then I clamped it to the roof just behind the front roll-over loop and welded small V's back in to the gaps. One thing that is worth pointing out if you decide to make your own frame is that if you do it this way then make the frame more curved then it has to be. Because when you weld in the V's the frame will straighten a bit!

Basically once you have cut the V's chamfer the edges and cut the filling pieces to fit each gap, chamfer the edges of the filling V's and tack them in place with about a 1˝mm gap to allow for lots of penetration and hence a good strong weld. Once all the V's were tacked into place I then welded the joints fully on both sides, and then ground the welds flush.

Just remember that the angle iron will straighten a bit when you weld it up, in fact in my case the angle straightened by about an inch at both ends, meaning that I had to cut to more V's and readjust.

As the hole in the roof was cut to long, I decided that the best way to make the frame for the back end was to make it the same at the front piece, then I could use it to help me get the rear of the roof welded in easier, as I would be able to clamp the roof section to the frame to keep the contour correct when welding.

What I did find was that the frame for the front which fitted perfectly on the front was not symmetrical, meaning that it would only go one way (the curve wasn't uniform), so what it came to making the back piece all I had to do was clamp it to the back of the front piece and copy it that way.

Here you can see the piece of roof I have to repair the back, it was cut from a van which had the pop-top in the correct place (i.e. at the front of the van) this meant that I had a lot of metal to play with. In this picture I have just cut the back corners out so I could line up the piece with the step in my roof, then I could mark out underneath where to make the cut.

But before I made the cut I assembled the frame and clamped it to the loose piece of roof at the back. At the front of the frame I drill the holes and bolted it into place, so it wouldn't move.

Back

Index of repairs

Forward

Please feel free to e-mail me with suggestions or questions and I will try and oblige.

E-Mail me : fid@fid-tech-ltd.com

Links