Page 10

The roof and frame continued.

This view underneath the roof shows the amount of metal I am replacing, I didn't need to replace this much but because there was a lot of holes in the roof I decided to cut out that area as well and replace it a the same time. one of the first things I did was to place he new piece of roof into place and clamp the frame to it so it would be the correct curve otherwise it just goes flat and doesn't fit.

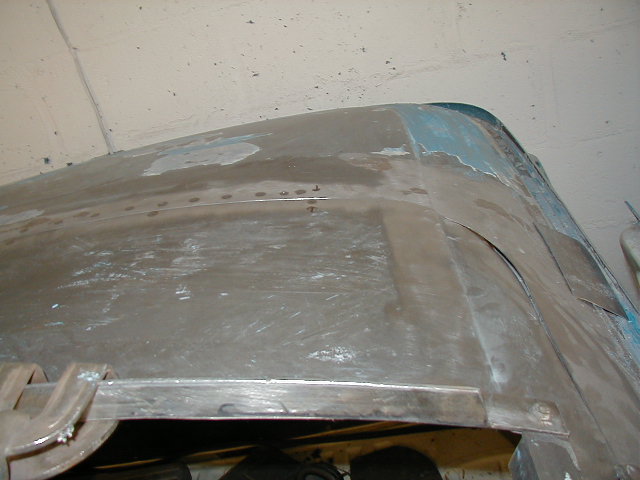
I also had to spend a bit of time cleaning the roof back to bright clean metal. I used paint striper and my trusty "Scotch 3M" cleaning pad in an electric drill.

At the corners of the roof I have cut it in a nice big radius this way the joint will be much stronger. I have also cleaned back all the paint to nice shiny metal.

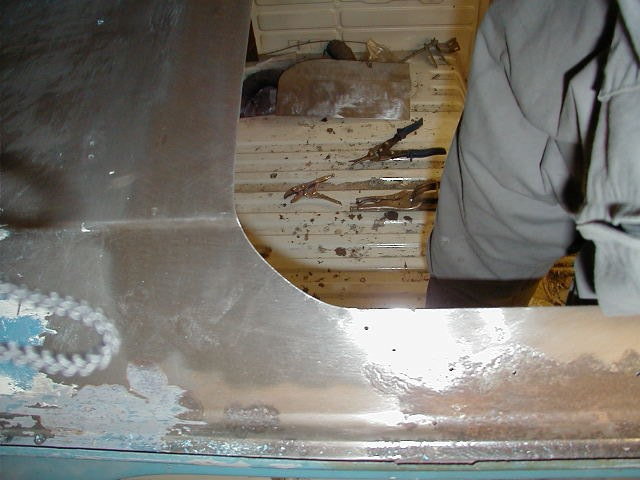
The frame sides should be positioned so that they are just on the area down from the bump in the roof, so you can see that in the case of my roof that the cut was made to far down the roof which is why the original frame was bodged to cover up the mistake, I will be filling in this gap so the frame fits where it should.

Once I hade cleaned all the roof back to metal I then cut a strip of metal of the spare roof and spot welded it into place, at this stage I have spotted it about every 2 inch's or so.

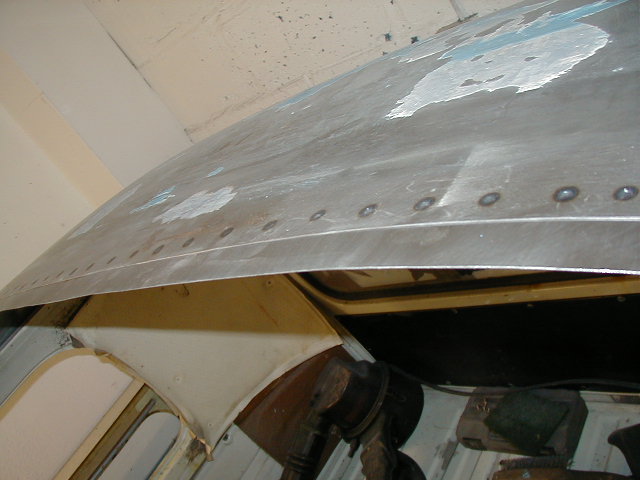
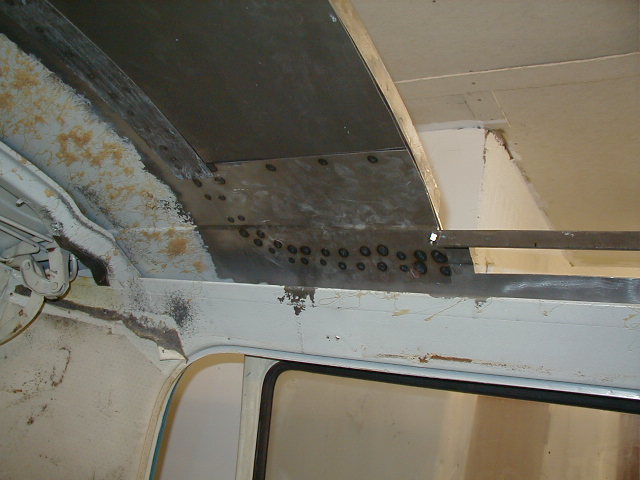
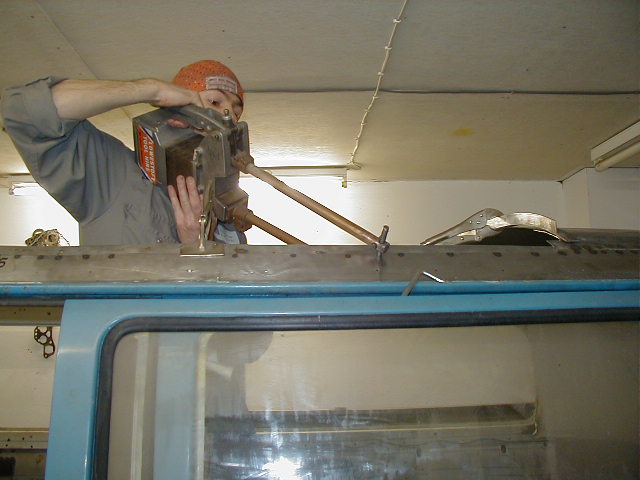
I decided to hire a spot welder instead of using my mig welder as the distortion that would have occurred would have made a right mess of the roof, the spot welder was only £15.86, so it was well worth it for the day!, but I did make sure that I had all the bits ready to go before picking it up, and it was a hard and long day!

Here was the important bit I got a friend to help us hold every thing in place and once I was happy that every thing was in line I spotted the new piece into place. The new piece is being held into the right shape by the new frame, it is held by mole grips and its is bolted to the side pieces of the frame at the ends this should make sure that it doesn't move and is the correct shape.
Here is a view from underneath it shows clearly the gap along the sides of the frame, which are about to be filled in. You can also see the big pieces of roof I have used at the corners to reinforce the edges, these were cut from the other piece of roof which was conveniently long enough to provide all the bitts I needed for the repair. The bits to fill in the gaps along the frame were also cut from the same van which was being broken up, after it had been involved in a crash.

And here is the side piece all filled in!, I lapped the joint like the back and the new metal goes under the frame almost to the downward angle.

in the foreground of the picture you can just see an area where there are no spot welds this is the area where the roll over loop was and you cant get the spot welder behind it. For these areas I will be carefully welding them with my mig welder.

And here is an action shot!, the spot welder might look small but believe me it is quite heave and isn't really meant to be used at that height!, by the end of the day my arms were dead.

This picture shows the lap being welded on to the side, I held the piece of metal in place with clamps and spotted it into place. Then I put the frame sides back on and spotted the filling piece into place, it is only spotted to the lap and not to the frame, I will be bolting the frame into place using some nice stainless steel Alan head bolts. Once I had finished the roof and my arms had regain feeling, I installed one of the bunk beds, which bolts to the frame, and I am happy to say it will very easily take my weight and the roof doesn't even move!

Back

Index of repairs

Forward

Please feel free to e-mail me with suggestions or questions and I will try and oblige.

E-Mail me : fid@fid-tech-ltd.com

Links