This front panel seems to have taken such a long time to complete! but it is finally done. These last pictures show how I finished it off.
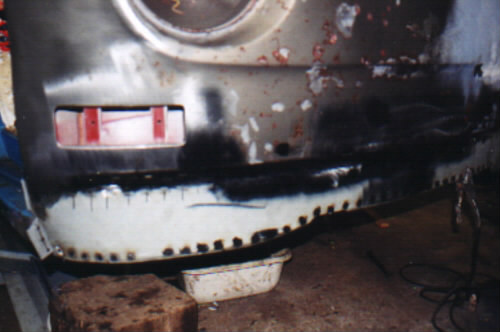
In this first picture you can see the new front panel and the repaired bottom of the camper, you can see I am only using the bottom of the repair panel, I would have liked to use more of it but it just isn't a very good shape.
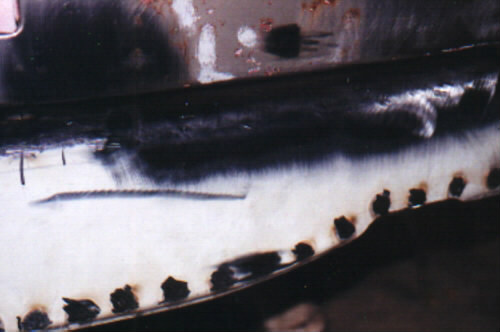
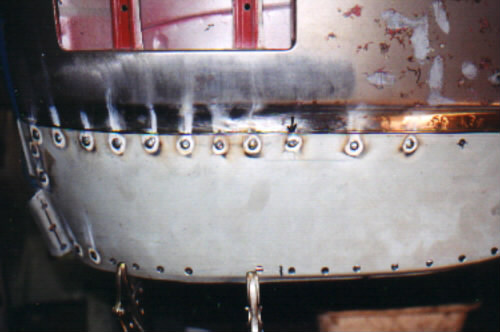
This picture shows the lap I have welded into place; firstly I drill holes all along the bottom to allow me to plug weld with my mig welder. When the holes have been drill I then had to clean of all the burrs from behind to make sure the lap would sit flat, this took ages, I used a small file which I bent to a right angle (heat it to red hot first!) then the lap was welded into place in sections about a foot long, the lap was held into place by jamming a screw driver behind it.
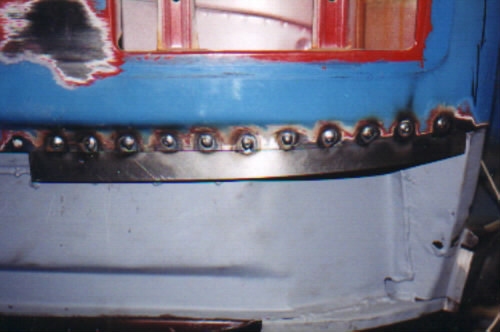
You can also see the rust marks left by water running down the inside of the front panel (in the indictor space), where it has leaked in past the window rubber!
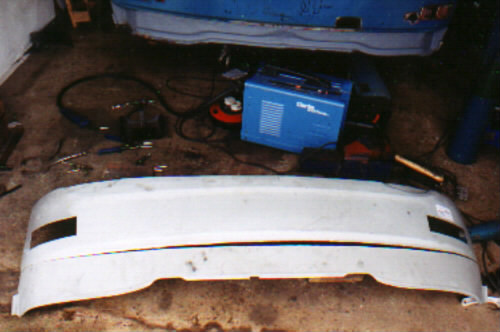
Once the entire lap was in place I offered up the new panel to see how it would fit. I found this very awkward and it seemed to be a bit to long so I cut it in half, which made it so much easier. Holding the panel in place with clamps I had a good look underneath the repair to see how it was fitting to the bottom lip, and drew around the bottom inside so I could see where to drill the holes, as the panel drops below the lip so you cant just drill them at the bottom. Then when all the holes were drilled I checked it one last time and tacked it in place.