Page 6

The bottom of the front panel continued.

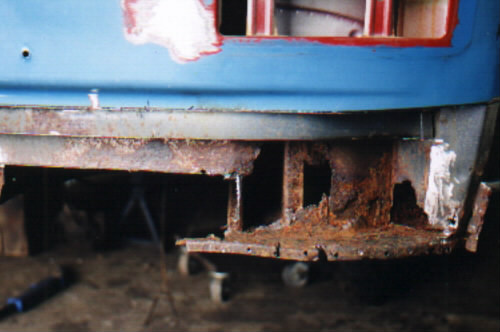
Moving on to the nearside which in nearly all cases is the worse side, here the rust has taken hold more and rusted out the bottom of the a-post, and large areas of the inner panel have gone. But this is not a problem more of a challenge!

Again as the offside I have left the right side of the
panel in place to make a repair panel up.

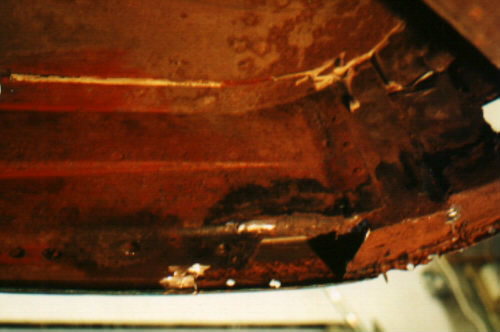
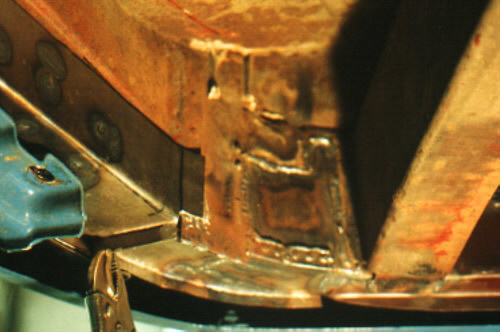
Looking from underneath you can see where the home made panel will have to join at the flange on the bottom of the step, you can also see the big hole in the step which will need attention as this is just in front of the step mounting holes. When I was looking at the camper in the first place I found that the hole step was a bit unsafe partly because one of the bolts had sheered of but mainly because of the rust.

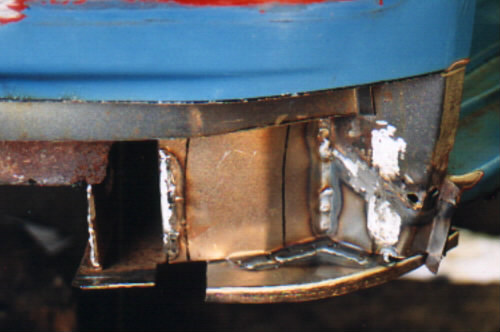
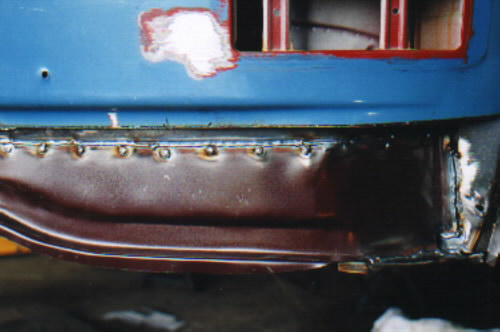
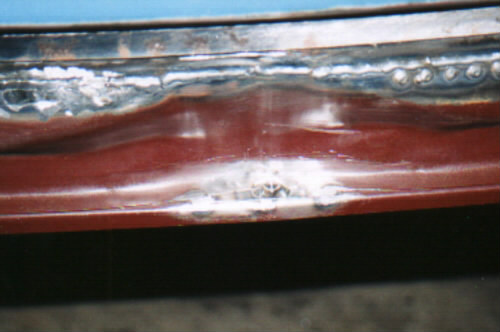
Back to the front again and I have finished repairing all the areas not covered by the inner panel. I have also had to repair the flange to the right of the picture where the front panel folds around and where the sill joins as well, this can be better seen in the big picture. The repair panels attempt to keep the panel looking as genuine as possible with all the flanges still in place.

Looking from underneath again you can see how the home made repair panel has been fitted, it is quite a complex shape, and I find the best way to make such a panel is to first make a template out of cardboard, then when you are sure the shape is correct transfer it to steel and cut it out. In this case the curved lip requires a lot of work to get correct as when you bend the edge over the whole plate bends as well so lots of patience is required and a very large hammer also works as well!

You might also notice that I have started to repair the step as well but this will be covered next.

Well the front panel looks so much better now all the rust has been replace by nice new metal! I am not going to clean up the welds as there is no point in doing it. But I have painted all the area with an anti rust primer, and when I am ready to weld the front panel back on I will inject wax oil into the area.

One last point before you weld in the new font panel make sure you weld a nut in the center of the front panel, this is required for the guard that goes under the pedals. This is simple to do just offer up the guard and bolt it in place then mark out the front panel and drill. Two small tack welds hold the nut in place.

Back

Index of repairs

Forward

Please feel free to e-mail me with suggestions or questions and I will try and oblige.

E-Mail me : fid@fid-tech-ltd.com

Links