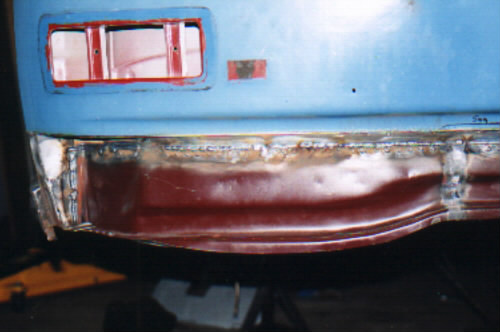
Following on from the last page the repair panel has been cut in three pieces and then cut in half again horizontally, you can see in the picture that I have already welded the center section in place. In doing it this way you can leave the outer remaining parts in place to make sure that the center section lines up correctly. The new panel was holed along the top edge on the inside and outside, and the panel to which it was joined was lapped. It also joins the front at the cassis rails so a good weld can be laid down at the ends of the panel to the underside of the cassis rail.
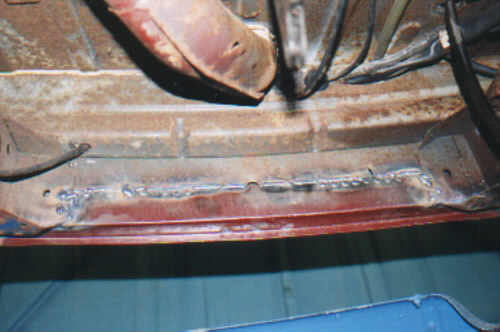
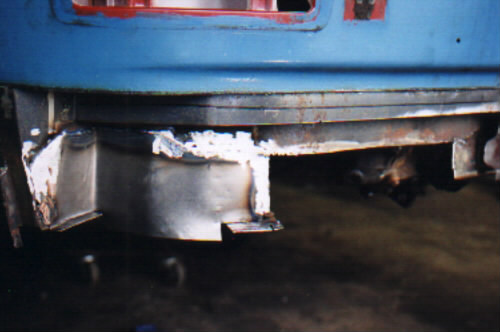
Here you can see the welds on the underside, and maybe I should say I hate welding underneath vehicles! (with a passion), just incase the welds look a bit dodgy. I cleaned all the areas to be welded back to nice clean metal so the welding wasn't to hard. (I use a mig welder)
In the large picture you can see where the join to the cassis rail is (in this picture all the front panel has been replaced). From underneath you can see that there is a bit of surface rust on some of the surrounding panels but in general the underneath is very good.
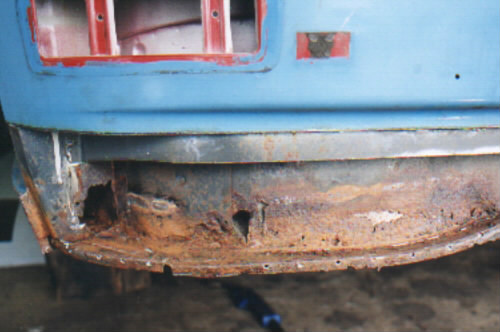
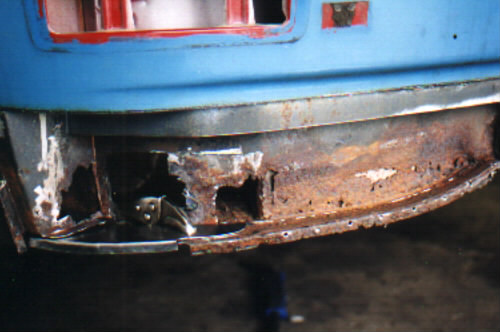
Now onto the corner, you can see that the outer panel of the lower panel has been removed and the area is quite bad. There is a hole at the bottom of the a post which will need attention but the right edge is in good condition. At this point it is ok to cut out the rest of the old panel as you have three reference points to work with so shouldn't lose the shape of the panel. The three references are the center section, the bottom of the chassis rail and the a post. But before I cut it out I had to get a template of the panel which closes up the end of the front panel at the bottom. You can see where this panel joins the front panel by the gap. (you might have to look at the big picture) This part doesn't come as part of the repair panel.