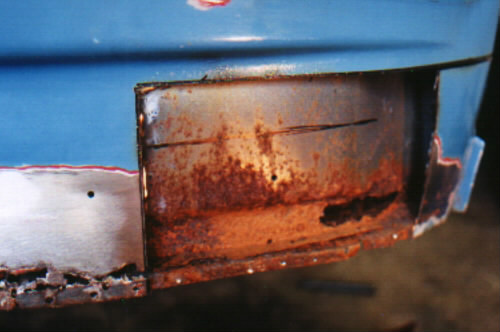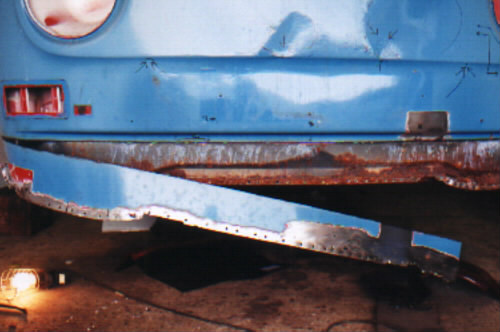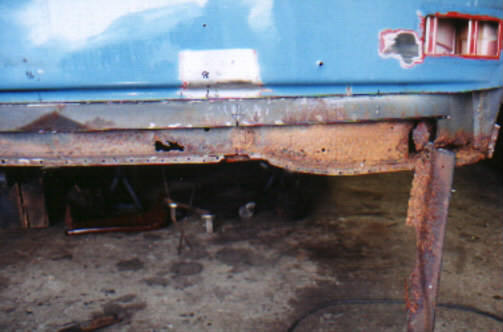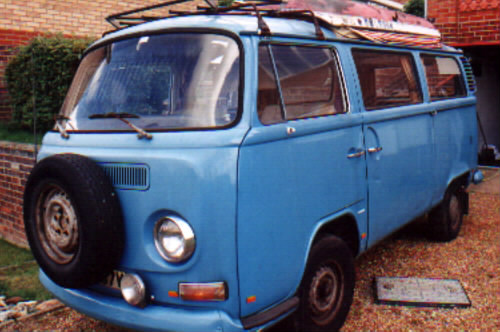
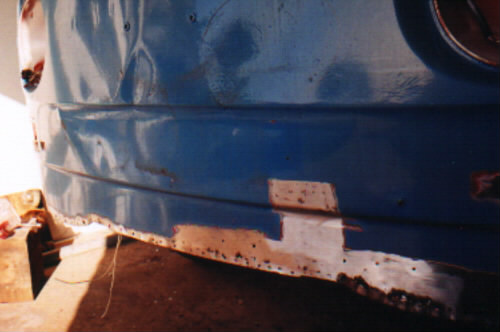
The front panel looked so nice when I brought the camper!, but and here is a tip when you go to have a look at a potential purchase, It is not what you can see but what you cant! If you take a good look at the front view then it has to be said it looks very nice, but so much is hidden by the bumper and the spare tire. I didn't even notice that you couldn't see the number plate which is hidden behind the tire! Any way as soon as I had taken the bumper and the spare tire off then I could see all the damage. All along the bottom was rusted and had been repaired by riveting aluminum plates over the rust! however looking on the bright side at least you could see where all the problems were! but what was even worse was the dents around where the tire had been, this might end up being a difficult repair.
I decided to repair the bottom first and to make the repair easy I decided to order a repair panel which covered all the bottom of the panel up to the lights.
I also ordered the lower inner panel from Classic
Volkswagen Restoration as I could also see this was rusted from underneath
the van. But when the panels arrived it has to be said I was a bit disappointed
with the quality of the panels particularly the front panel which just didn't
have the definition. So after much thinking a decided to replace just the bottom 6 inches, or to be more exactly half an inch down
from the first formed shape. This way I was only going to use the bottom of the front repair panel and the weld would all be hidden behind the
bumper. But this did mean that I couldn't replace the whole inner panel as
I couldn't get to where it was welded to the above panel. so I decided to cut the panel in half long ways and lap the joints, and also cut it into
three pieces to make it easier. (the joins in the three pieces were at the
front of the chassis rails)
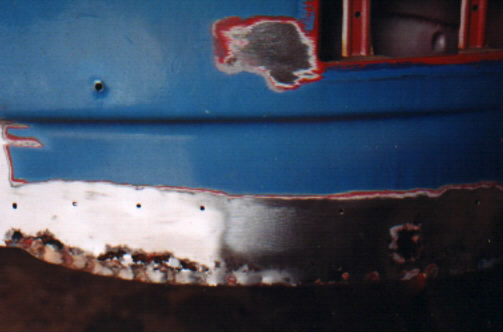
The main reason I decided to do the repair this way was because I didn't want to lose the shape of the front panel. The first form, in the panel just below the indicators has a lot of strength because of its shape and because of this I decided to keep it intact, the rest of the panel can be repaired or filled to cover the dents made by the tire. So the first job was to remove the spot welds at the bottom and again it is best to take your time so as not to damage the inner panel. Once this has been done I then marked out a line all the way along the panel half an inch down from the first bump. Before I cut all the way along I cut out a small piece under the left indicator so I could see what damage was behind. The damage is caused mainly by the window screen leaking so if you have had to repair your window surround then this might be next!