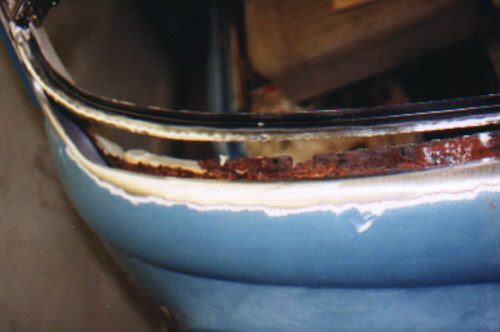
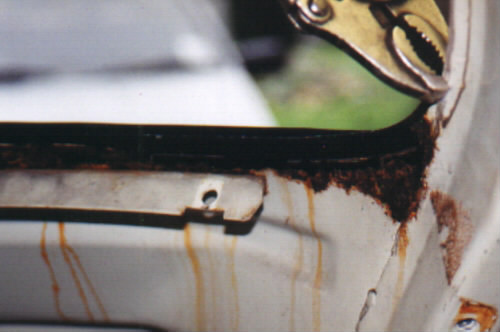
For this side I have taken a few more pictures, (I remembered to take them!) in this first picture you can see I have cut away all the rust using an angle grinder, I have made the cut behind the main curved form as I didn't want to interfere with the shape. The remains of the rear lip can be seen, at this stage of the repair I tried to keep as much of the rear metal as possible to help with the alignment of the front piece.
As for the new panel I have cut it down to the size required, cleaned back to shiny metal, and folded over the front edge so it goes under the original metal to form a "almost lap" joint. Also before cutting the rusty metal away, I checked the fit of the panel and trued it up to be a close fit.
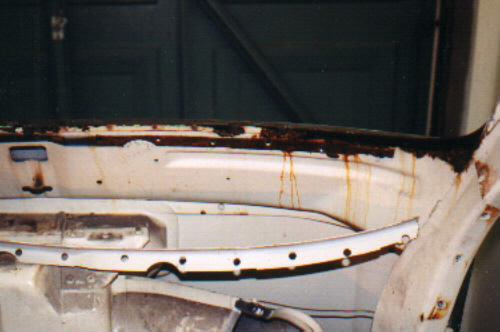
This picture shows the inside of the repair, not much to see really, but it is worth pointed out that I have left the dashboard mounting bracket in place to provide strength, in this way when I have welded in the front piece I can true it up with a hammer and dolly without worrying that I am bending the back panel.
You can also see the rust marks, formed by the water leaking from the window seal, and then running down the inside of the front.
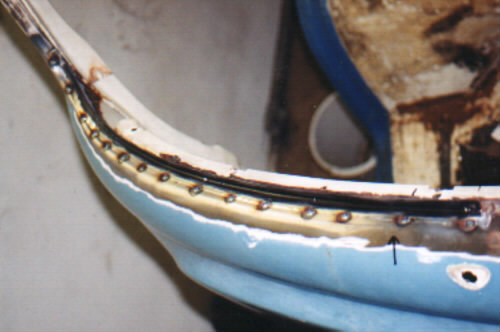
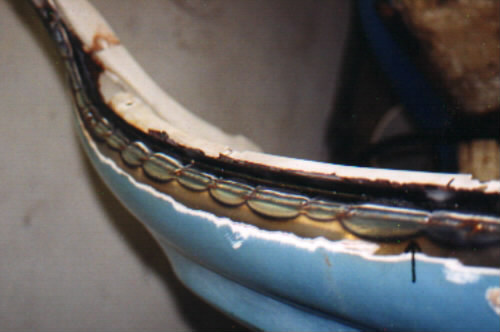
Using lots of mole grips and claps I held the new piece in place and tack welded it in place along the entire length. It is hard to see in this picture but once the weld has been attacked with an angle grinder it will end up flush and the repair should be invisible. Not that it really matters as the window rubber will cover up this area, but it doesn't take long to do if your welding is neat! And if your welding isn't neat then it might be best to clean it up anyway just In case the weld makes it tight for the screen to go back in.