Page 2

Front window surround, inside and out. (near side)

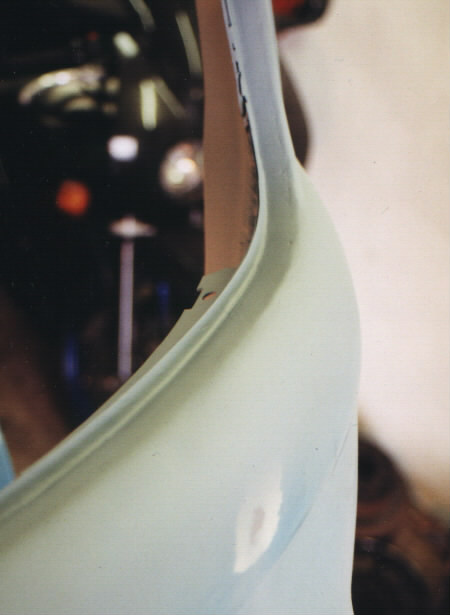
From the pictures on page one there was no way of telling what was hiding behind the screen. However once the screen was removed the damage could be seen! but the first thing to do is  remove the screen and because the rubber degrades and causes the damage in the first place the easiest way to get the screen out is to cut thought the rubber and fit a new one when complete. The window screen is toughened glass so can take quite a lot of pressure but even so be careful and get help (if it breaks it will literally explode).

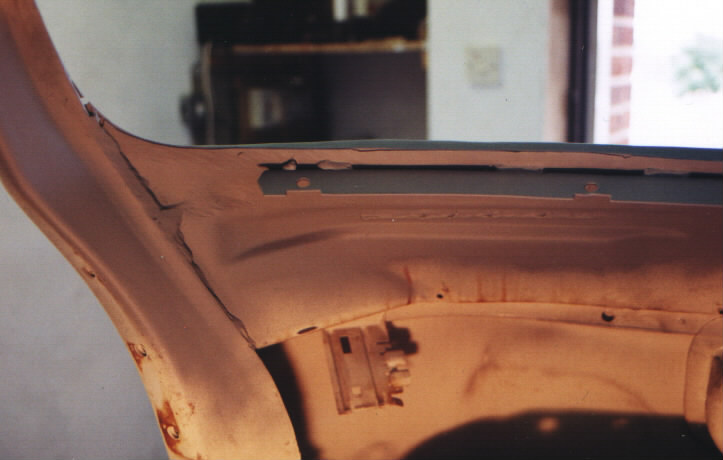
Also to properly carry out this repair the dashboard has to be removed, this is held in place at the A- posts and along the back of the dash on pieces of angled plate as seen in the picture, if the area is very badly rusted it is possible for the dash mounting angle to be lose from the front panel in which case I suggest drinking heavily.

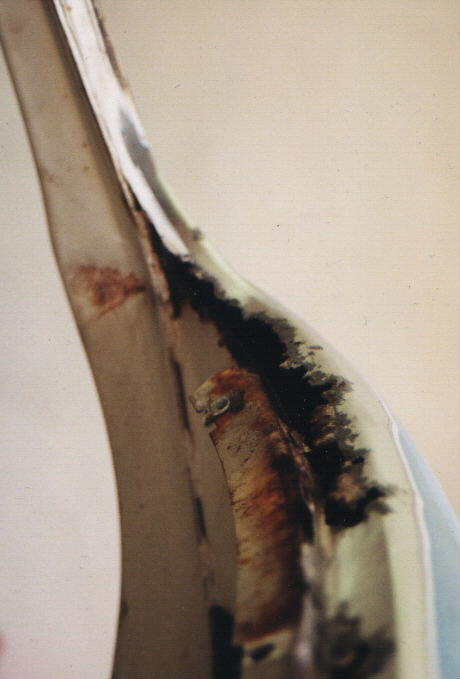
After removing the screen (and placing it in a nice save place!) and removing the dash (check your Haynes manual for all the fixings) I have then cleaned back the paint work to reveal what damage is present, and to be honest it isn't that bad! the key point here is to take your time and try not to remove any of the good metal, I find a "Scotch 3M" cleaning pad in an electric drill excellent for this.

To repair the damage I decided to firstly repair the outer panel, then repair the inside panel, as I always like to try and keep as much of the original metal in place so as to keep the shape correct (you can repair the front panel and make sure it fits to what is remaining of the rear panel). The repair panels came from Classic Volkswagen Restoration (or Alan Schofield as the man behind the establishment!). The repair panels (3 in total) are enough to do all the bottom of the screen on the outside and then other panels are available to repair the inside.

The panels firstly need to be cut to size and shaped to the repair area, at this point I haven't removed any of the metal around the screen as it is very important to make sure the repair panel will fit perfectly before cutting the old metal away. Once happy with the fit on the repair panel I then cut away the rusted metal, I tried to not cut into the curved front section so that the welding wouldn't interfere with the shape of it. also I curved the front of the repair panel so that it just went under the front edge this way I should get a good weld and keep the shape.

I then welded the repair panel in trying to concentrate the welding heat onto the repair panel and just letting the weld fuse onto the outer curve. The repair panel was clamped to the seam making sure that it was in the right place. Once that was in place I then removed the angled plate which held the dash in place on the inside.

If you drill out the spot welds then you should be able to weld it back into the same place. For this repair I decided to make up my own repair panels. You can see in the picture that there is a indentation under the dash bracket which had only minor damage under the end of the angle, so I decided to make three panels covering about 12 inches from the corner. The first was above the indentation as was the last, but the middle section covered the indention, (you can see the weld in the big picture). All panels were seam welded in place and where the bracket was located the welds were ground flush. once I was happy with the repair I then welded the bracket back into place, and gave the area a quick spray with primer.

Back

Index of repairs

Forward

Please feel free to e-mail me with suggestions or questions and I will try and oblige.

E-Mail me : fid@fid-tech-ltd.com

Links