Page 18

Rear N/S Corner.

This is a nice series of pictures showing the repair of the rear N/S 1/4 panel.

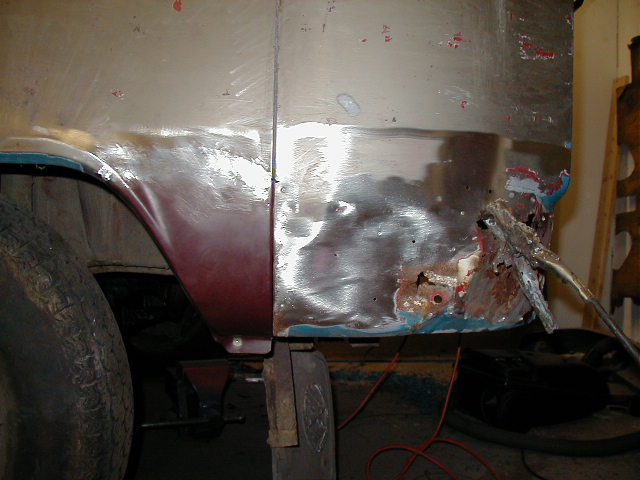
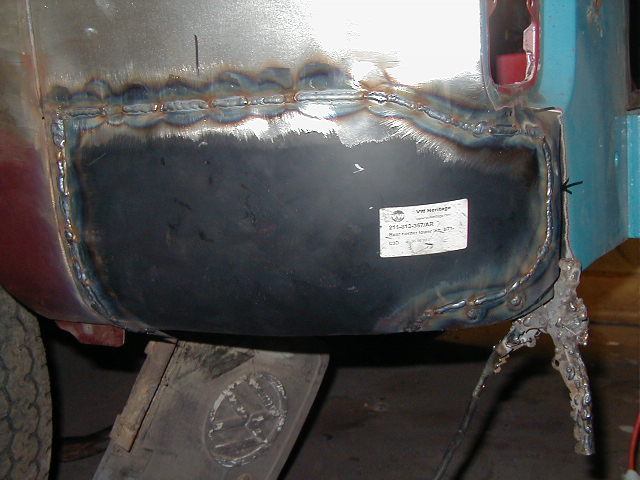
First job, as always, is to remove those horrible aluminum plates by grinding the heads off the rivets. I have already got the repair panels and they are large enough to easily cover the damaged area.

And here is the damage. It just goes to show that slapping plates over the top of rust just don't work - it makes matters worse!

After thinking about this area for a while I decided to tackle the front first, as this would allow me to maintain the correct shape for the bigger panel to be replaced.

So I very carefully cut away the front with an angle grinder and cleaned up all the edges being careful not to damage the flange of the 1/4 panel.

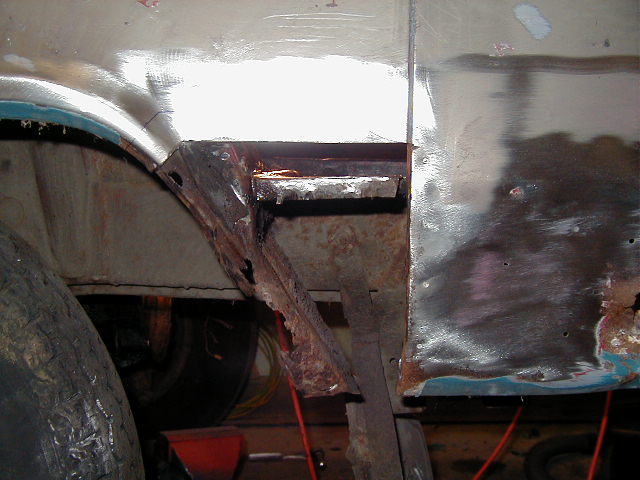
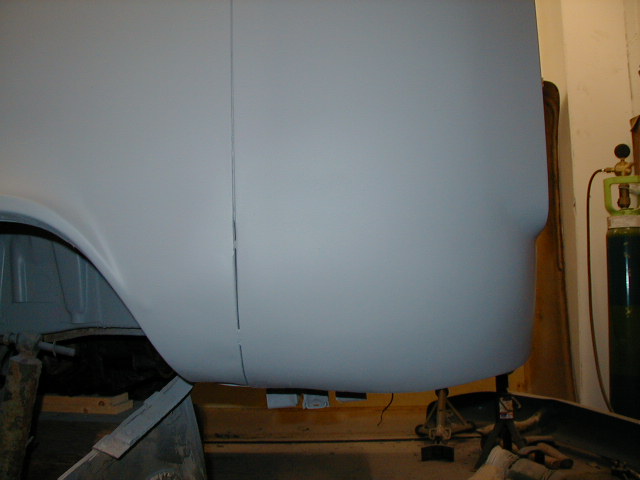
The cut was made just above the aux battery tray.

And here is the new panel welded in - it fitted very well. This picture shows what I mean by maintaining the shape, the front panel was lined up to the 1/4 panel and now the 1/4 panel can be lined up to the new panel.

From the last picture to this picture is a big step, the new 1/4 panel, being a pattern panel, didn't come with the flange to join it to the front panel, so this I made up first and welded into place. I then put a lap onto the flange to allow the 1/4 panel to sit onto it.

The area to be replaced extended under the rear light cluster but the bottom under the light was ok, so the panel has been shaped to use as much of the bottom lip as possible as this contains additional strength (and maintains the correct shape).

Because the van is so large, and I have now completed the near side, I spent a considerable time filling dents and the gave the whole side a good coat of high build primer.

Back

Index of repairs

Forward

Please feel free to e-mail me with suggestions or questions and I will try and oblige.

E-Mail me : fid@fid-tech-ltd.com

Links