When I tried to fit the battery tray in place I discovered it wasn't going to fit easily, as the way the van was constructed probably meant that the tray was put in place then the quarter panel added.
|
Page 19 |
Rear O/S Corner and Battery Tray. |
|
|
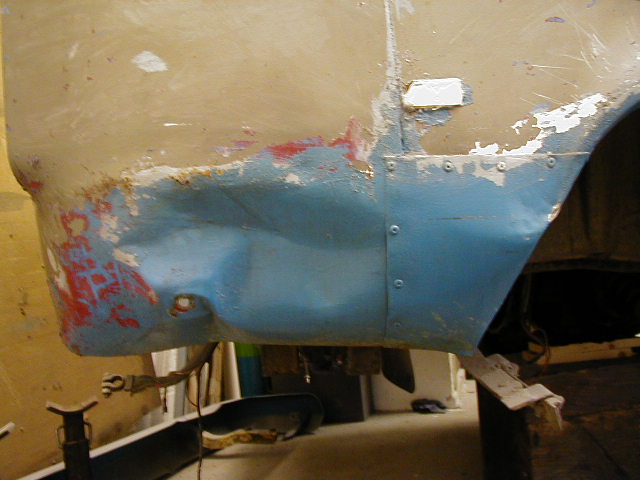
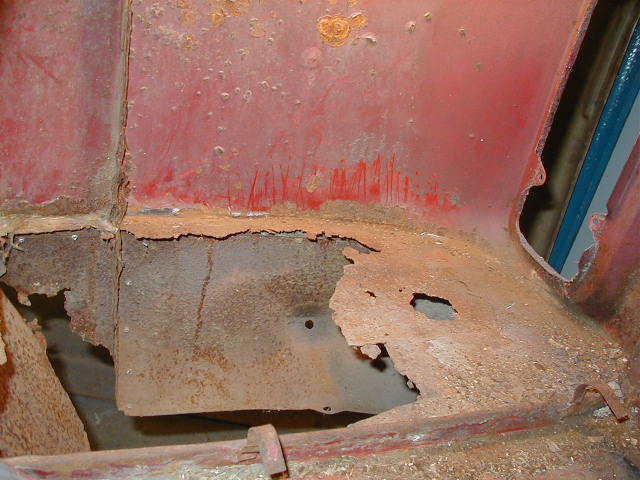
I did this side some time after the N/S and I have to admit I quite enjoyed doing this side! As you can see by the picture I have my by now legendary aluminum plates covering various rusted holes but I also have the bonus of a very big dent! which had not been repaired. |
|
|
This side also has the battery tray which, as you can see in the picture, would not be suitable for the job in hand! I had already purchased a genuine battery tray so the idea was to replace this whole section. When I tried to fit the battery tray in place I discovered it wasn't going to fit easily, as the way the van was constructed probably meant that the tray was put in place then the quarter panel added. |
|
|
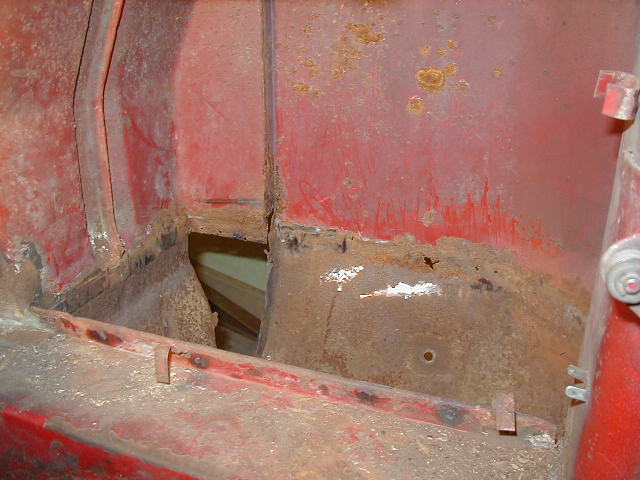
So the first job of this repair was to remove the old battery tray which offered no resistance! It is joined around all edges by spot welds. (I should point out at this time that the engine is removed so that I can get to it easily) I basically used an angle grinder and chisel to remove the remains. You can also see in this picture that I have cut away the remains of the wheel arch bottom. |
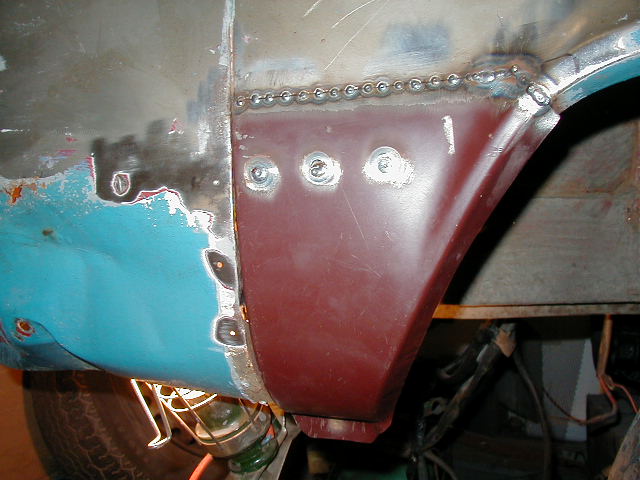
| This new panel was a pattern panel but fitted quite well after
I had trued up the edges and cut to size. I have in this instance decided to butt weld as apposed to making a lap as normal, (I was told this would be easier and cause less distortion). The three spot welds just down from the main butt weld join the panel onto an inner structure which, I think, goes up to the petrol filler. At this stage of the repair the bottom of the inner wheel arch (mud flap) has been left unattached. I will repair this at the end as it allows the panel more flexibility. |
|
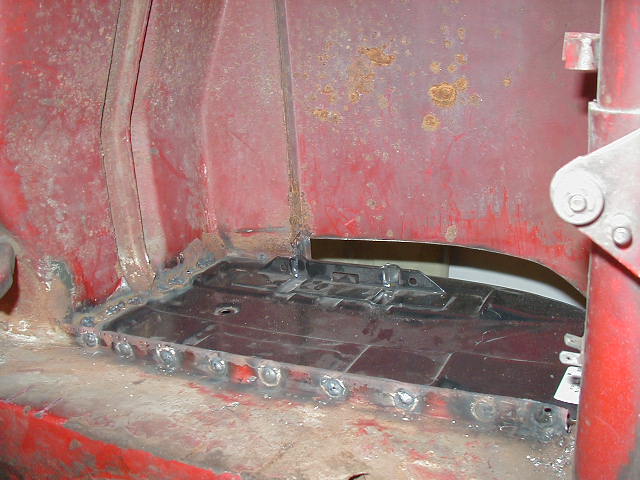
| Because I first repaired the bottom of the arch this provided me with a good reference for the rest of the bottom of the quarter panel, so with this in mind I happily cut away the bottom of the 1/4 panel. (you can see how much I removed from the gap above the tray) With the 1/4 panel removed the new battery tray fitted easily with the aid of a lump hammer! The welds in the front of the picture were welded from within the engine compartment by drilling through where the original welds were. |
|
| From this side you can see how much metal I removed, I had to cut well above the tray as all along where it joined it had rusted badly (probably due to battery acid). |
|
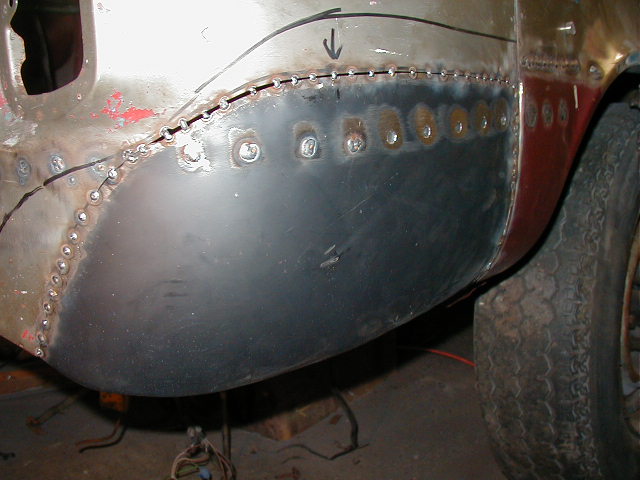
| The new panel was cut to shape and a series of holes drilled along the flange of the battery tray. Although it looks very simple, because the panel was a pattern part, it didn't come with the flange to join it to the rear of the bottom arch so this edge had to be formed first and welded in place. After that it was just a simple matter of butt welding the new panel in place. |
|
|
|
|
Please feel free to e-mail me with suggestions or questions and I will try and oblige. |
|
 |