
|
Page 16 |
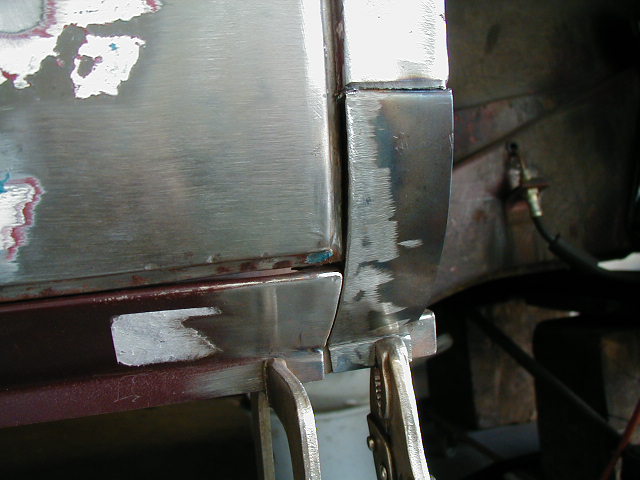
Rear N/S Corner. |
|
|
And here is the new panel welded into place, you can see the bottom section which was just fitted inside the other piece and then welded along the lap. It was welded along the top by using the original holes left from removal, and welded to the outriggers and along the bottom edge to the sill. |
|
|
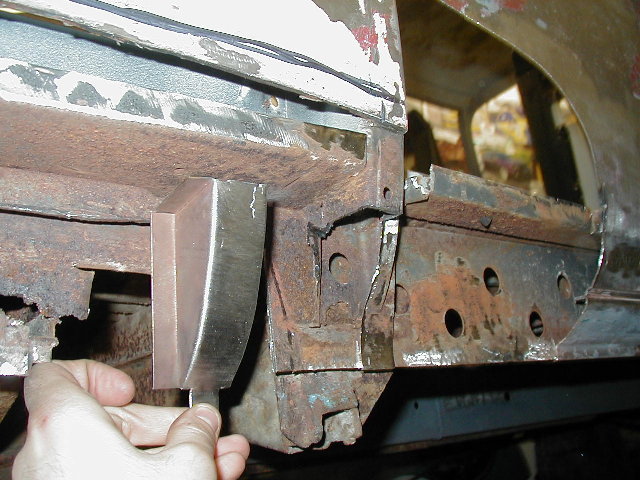
Here I am in the process of carrying out two repairs, renewing the front of the sill and the bottom of the "B" post. I may have got this picture the wrong way around as I think I had to weld the sill in before I welded the inner repair panel into place, other wise there is no way you can weld the sill along the top edge (unless you fill in the step) you have to weld the sill in from behind. Another thing I would like to point out is the edge that I have welded onto the end of the sill, this allows the line to continue down to the bottom. |
|
|
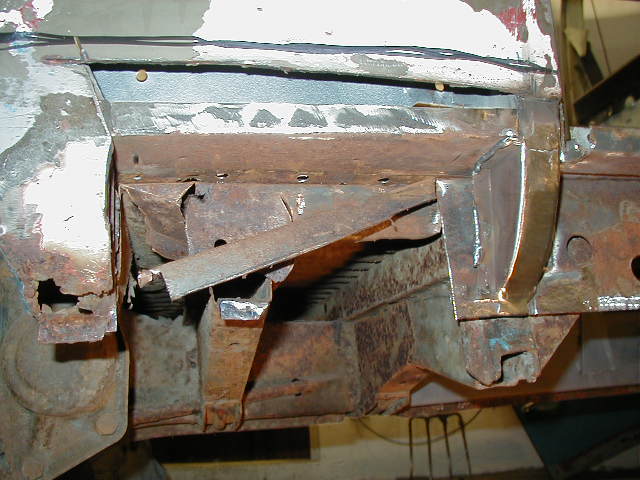
Moving onto the back of the sill, this side proved to be more difficult than the N/S mainly due to there not being a door! So to try and make things easier, and gain better access, I cut a hole in the panel! (I regretted doing this later!!) The main reason I had to do this was so I could repair the bottom of the post. |
| Here is the new section of post, it was made in three sections, two side bits with turned over edges and a strip to go in the middle. Leaving the post for a minute, if you look closely at the picture (the big picture is better) you can see a section through the side panel and sill and where the floor joins. On one late evening in the garage myself and a friend tried very hard to work out how it would have originally constructed... it seems almost impossible! |
|
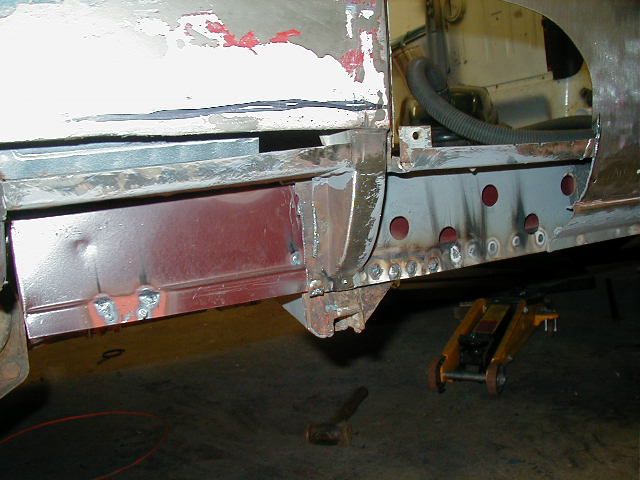
| Anyway carrying on I have welded the new panel in place, had
I thought a bit further ahead I would have left it until after I had repaired the sill, as with it in place I couldn't get to the area
in-between it and the jacking point! I am now in the process of removing the remains of the sandwiched part of the sill. |
|
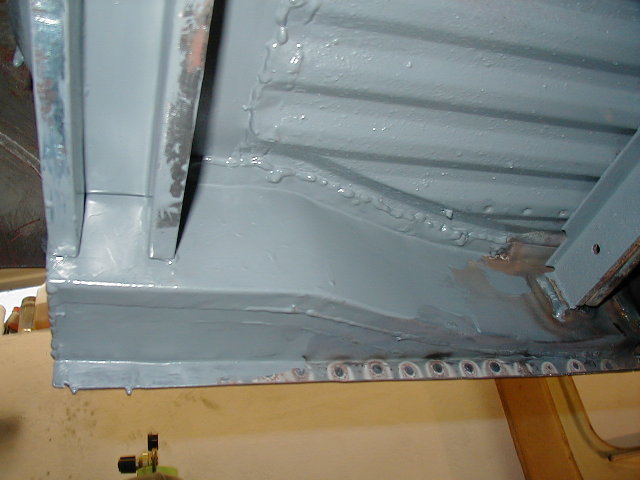
| With the sandwiched section of the sill and the inner sill removed I then replaced the inner sill with a new section. This had to be slotted in from the back after cutting away the back section. It was then welded in place using the original spots in the floor, and along the bottom of the sill. |
|
|
|
|
Please feel free to e-mail me with suggestions or questions and I will try and oblige. |
|
 |