|
Page 15 |
The O/S Sill. |
|
|
Ok now on to the O/S sill, the last page (page 14)was really out of sequence as I had an e-mails regarding that area so made that page up first. As for the sill it is rotten in the same places, at the front and back, but at least you don't have the sliding door to contend with. So like most of my repairs so far I first removed all the patches, which for once were welded into place! |
|
|
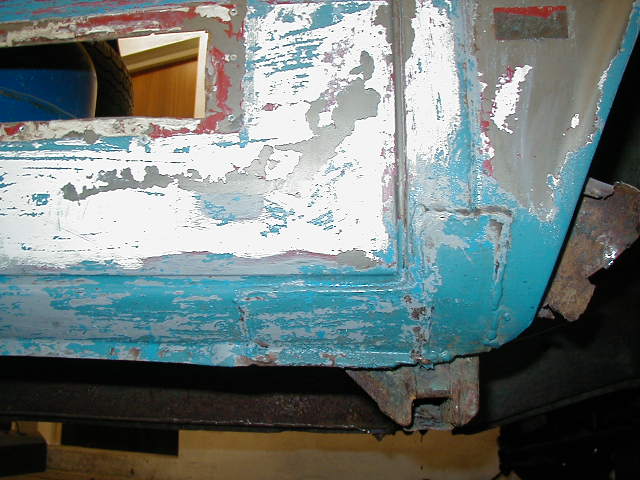
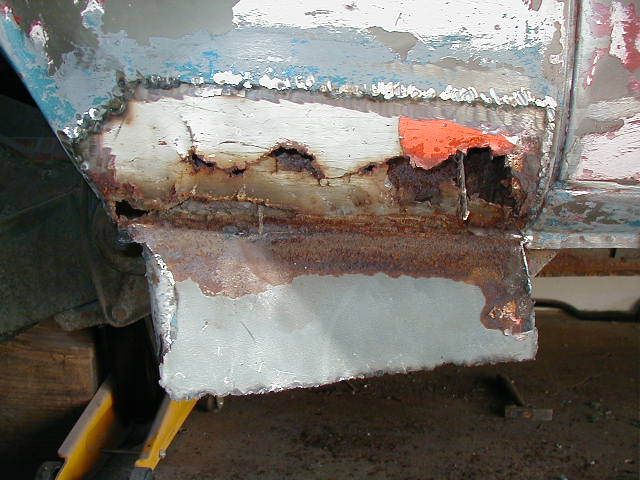
There was a rather large patch welded on the back bit of sill, just in front of the rear wheel. And as you can see once I had ground of the weld the damage was displayed. This area had been repaired before and there was a lot of filler under the plate. Disappointingly the bottom of the "D" post was also badly rusted and as I already know the repairs seem to take a long time. |
|
|
At the front of the sill all sections were rusted badly again, but at least the sliding door isn't a problem on this side. The "B" post also needs repairing, which means that all of them have needed to be repaired. (beware if you are buying a camper, you should look carefully at these areas) Now this is where the pictures aren't in sequence! the first part of this repair was to totally repair the jacking point cross member, which I have already done! |
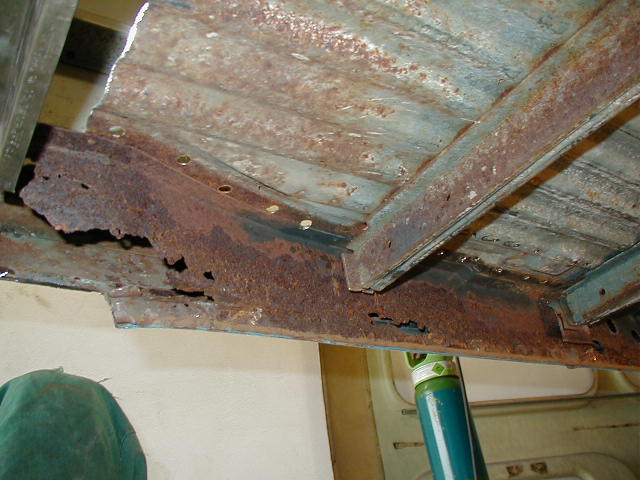
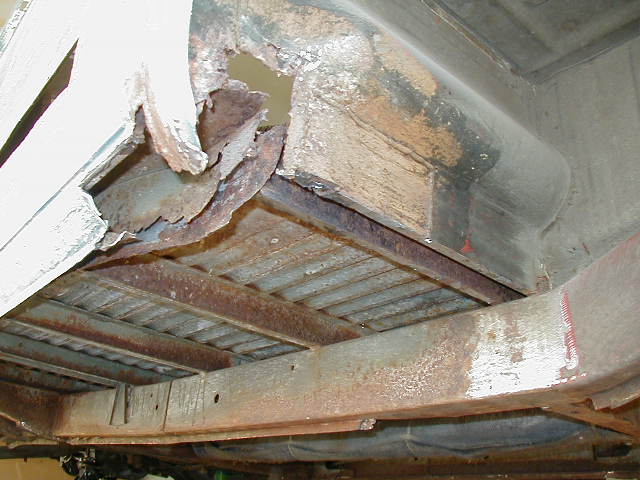
| Looking underneath you can just see the new section of cross member, and also the inner sill has been removed at this end. Again you can see the holes left from where I have drilled out the spot welds from inside. Once I had got the inner sill of, I could then see the damage to the sandwiched part of the sill, but at least most of the damage was at the front so I decided to cut this section out as well and repair both sandwiched part and inner sill together. This part was time consuming as the only repair panels you can get are pattern parts and I have had enough of them by now! so I decided to make the panels my self. |
|
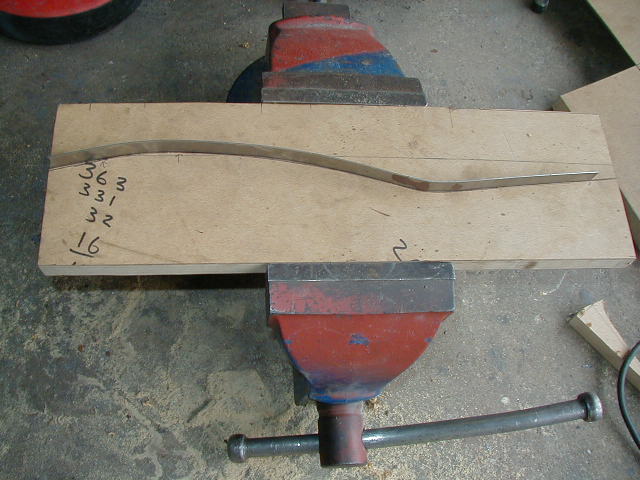
| This picture shows how I made the repair panels, basically I made a good template of the shape required and transferred it to a piece of MDF, then carefully cut down the line with a jigsaw. The metal was then sandwiched in-between the two pieces and held tightly in a vice. Then taking my time I tapped over the edge progressively over the whole length. This was then repeated on the bottom edge (but the other way around) and then the whole process was repeated again to make up the two sections required. |
|
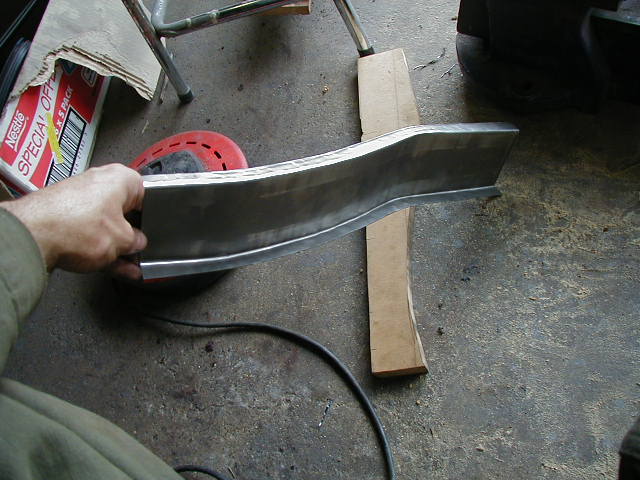
| This method seems to be very successful, and once I had made the two panels I then made the bottom part of the repair and welded the three parts together. At this stage I got a bit carried away and forgot to take picture of the completed repair panel! but you can see how it looks on the next page once installed. |
|
|
|
|
Please feel free to e-mail me with suggestions or questions and I will try and oblige. |
|
 |