Another area to repair is the bottom of the "B" post and this turned out to be time consuming and difficult repair.
|
Page 12 |
The sill, second page! |
|
|
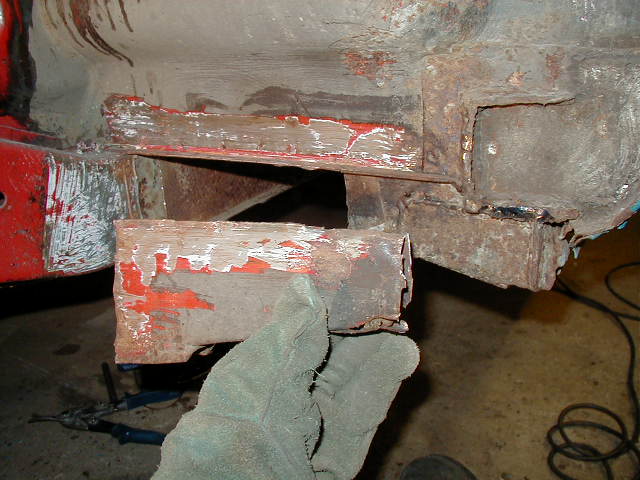
To remove the inner sill I tackled it from the top, drilling out the large spot welds, I have placed the sill in the loading area so you can see what I mean. There are two sets of spot welds, one lot for the outer sill and the other set for the sandwiched part. |
|
|
To give me more access to the back of the inner sill I completely removed the jacking point as this was to be replaced anyway. To remove it I simply chiseled the center out and the carefully removed the ends with a grinder. (carefully and grinder probably shouldn't be used in the same sentence!) |
|
|
Preparation is the main part of this
repair, it basically only takes half an hour to weld the new inner sill back into
place but a serious amount of time to clean of all the old metal. In this picture
you can see the sandwiched part of the sill, both the inner and outer sills have
been removed along with the jacking point. Because the sandwiched part is nice
and think it doesn't seem to matter that it is left unsupported on its own, and in
a way the part which forms the bottom of the door channel adds strength to this area.
Another area to repair is the bottom of the "B" post and this turned out to be time consuming and difficult repair. |
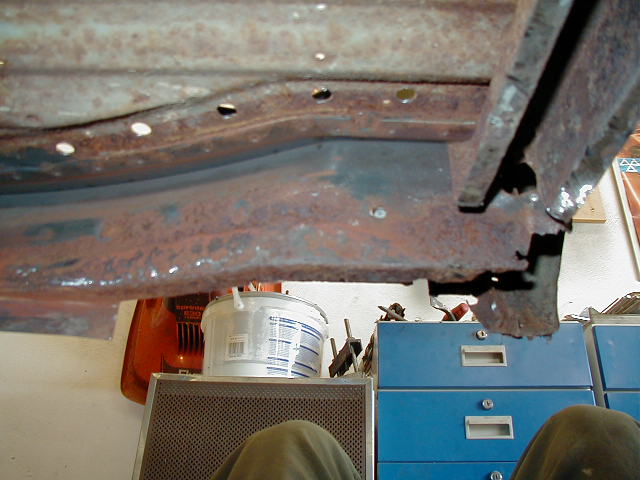
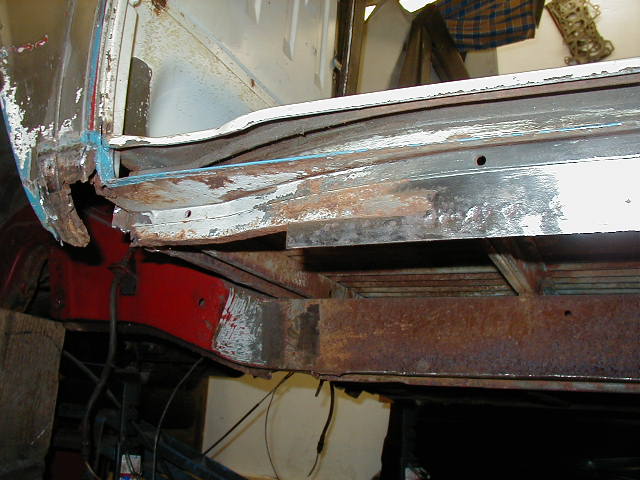
| Viewed from underneath you can see how the sandwiched part if fitted. The holes in the floor are where the inner sill has been removed. An area that took time to sort out is the area behind the outrigger (the flange that was welded to the inner sill) When I removed the inner sill I had to chisel the sill away from around the flange on the front outrigger and along all of the other outriggers, then carefully tidy up with a grinder and file. |
|
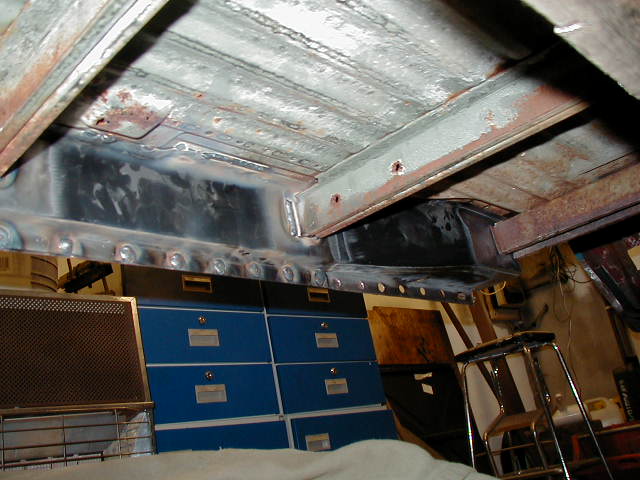
| At last the new inner sill is in place! and it fitted very well, all that was required was to clean of the paint in the welded areas and drill holes along the bottom to weld through. The top was welded into place be welding through the holes left from the removed sill. |
|
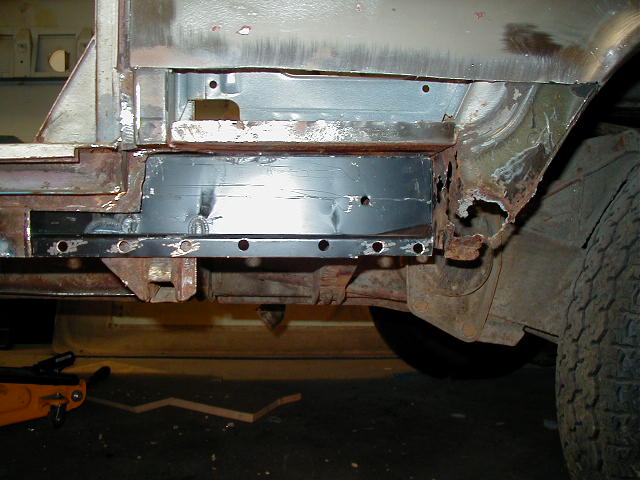
| You can see how the sill fits in at the back in this picture, as explained on the last page I had to remove the sandwiched part to slot it the new sill. You can also see the "D" post? which is missing its bottom 3 inch's this repair was difficult and also took a lot of time to repair. |
|
|
|
|
Please feel free to e-mail me with suggestions or questions and I will try and oblige. |
|
 |