I should point out that I have removed all the front suspension which I am rebuilding and getting powered coated, so I have very good access to this area.
|
Page 11 |
The Sill, the first page of 3! |
|
|
This will be a common sight on most campers!, loads of plates patching up the sill! the first thing I have done is to work out what decent metal I have and what will need replacing, so armed with a chisel I cut of the under floors, which surprisingly didn't take long! For the moment I have left the middle section of floor in place as there is no need for me to get under there at the moment. |
|
|
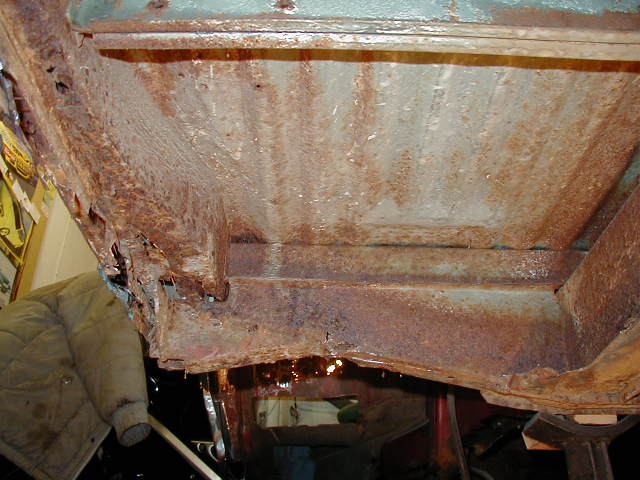
Viewed from underneath looking from the back forward, you can see the front cross member (where the front jacking point is), Also you can see part of the main chassis rail, the top floor and the rather rusty sill! at the top of the picture you can see one of the smaller out riggers, these run from the chassis rail to the sill and basically offer support to the inside floor. |
|
|
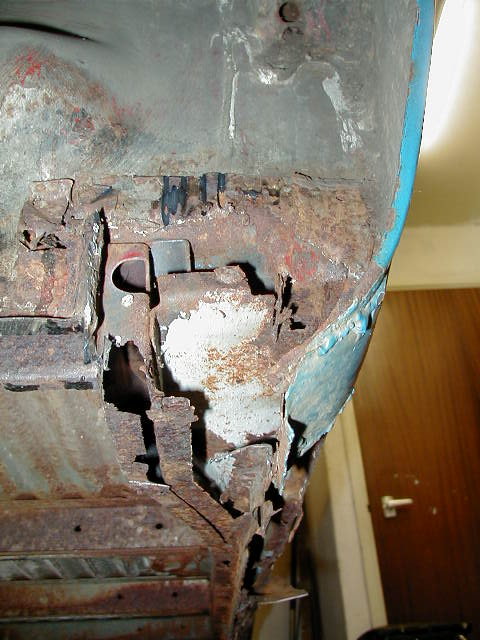
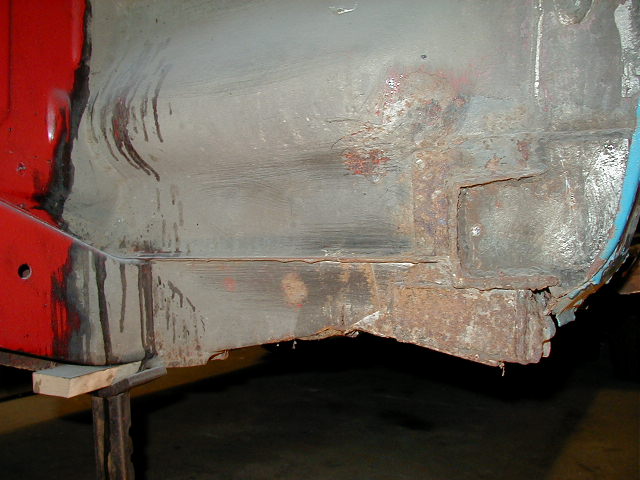
This is another area which
you should have a good look at, this is just behind the front wheel so
gets a hard life, being sprayed with water ect. Hence this area is always
one of the first areas to go on a camper. mine had a patch covering a
nasty hole, and like a lot of the repair that had been done on this camper
the patch was made out of aluminum and pop-riveted into place!
I should point out that I have removed all the front suspension which I am rebuilding and getting powered coated, so I have very good access to this area. |
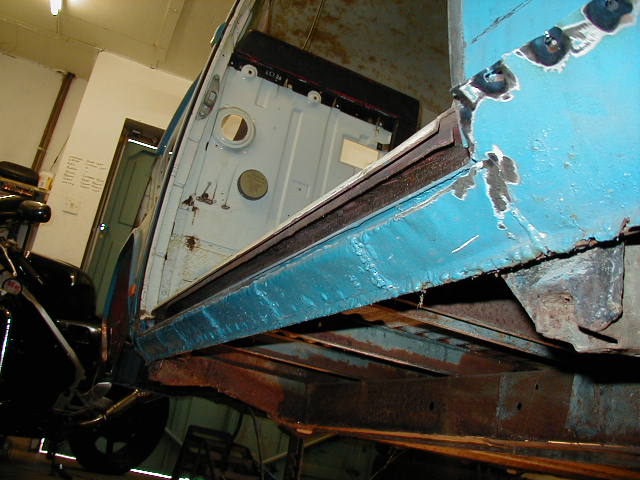
| With my aluminum plate
removed, (and the outrigger but ignore that for the moment!) you
can see what makes up the sill, and it is quite complex. For a start there
are three main parts to the sill, the outer skin, which you can see in the
top picture, then the next most obvious part is the outer inner part,
which you can see by looking underneath the floor, then the last bit is
the piece that in sandwiched in-between the two other parts. this part is
made out of a heaver gauge metal, and forms the bottom of the door runner
area, it also opens up at the end as you can see in the picture (this
is where the door pulls in to shut).
It would seem that you cant get the inside part of the sill, but in my case I don't need it as it wasn't that rusty, other then at both ends. However you can get the inside sill and the outer skin, and more importantly you can get genuine VW inside sills, which fit perfectly. If you do need to replace the inner piece then I think you have a big problem! |
|
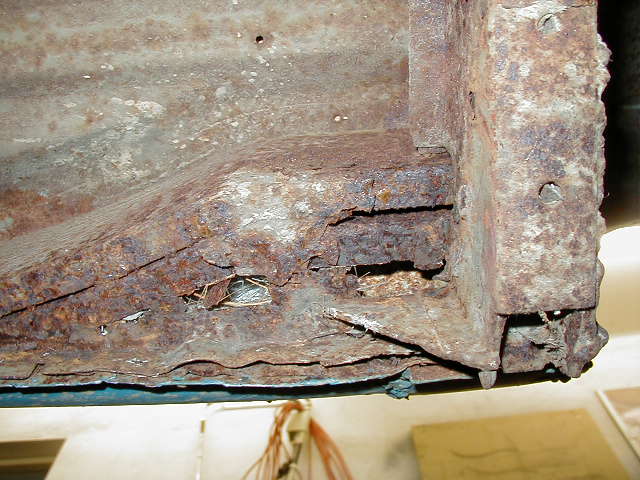
| Looking from underneath
this time you can see the inside part again due to the rust in the outside
piece. This area would normally be hidden by the floors so you might find
a real mess waiting for you!
The front outrigger is well rusty as well, but you can still get hold of genuine VW outriggers so I will be replacing this as well, I think it would be very hard to replace the inside sill without removing the outrigger, I had a few problems fitting the new sill into the back area because I didn't replace the rear outrigger, but I managed to work around that problem as you will see. |
|
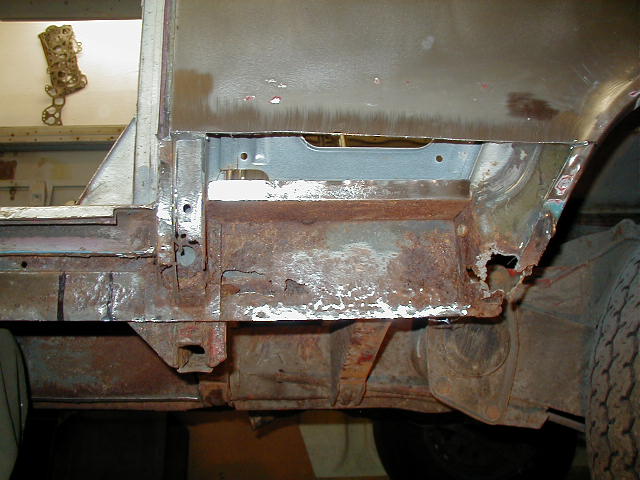
| And here is the rear of the
sill, I have removed the outer skin and cut away the bottom part of the
panel in front of the rear tire (this area was so rusty, and I had already
got a repair panel to replace it) the panel that is exposed is the
inside piece and it is also very rust and has holes in it, so I will be
repairing this section to.
I decided that if I cut away the rear part I would then be able to slot the inner sill into place then renew the sandwiched part, As you can see the rear outrigger would prevent me from putting the inner sill in place from the rear, so cutting the outer piece was the only way. (it needed replacing anyway) |
|
|
|
|
Please feel free to e-mail me with suggestions or questions and I will try and oblige. |
|
 |