Page 25

Rear hatch and engine cover.

The rear hatch and engine cover were generally ok and only needed small repairs.
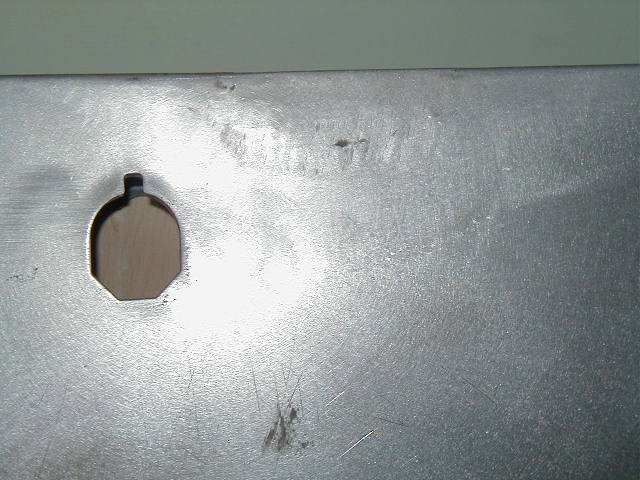
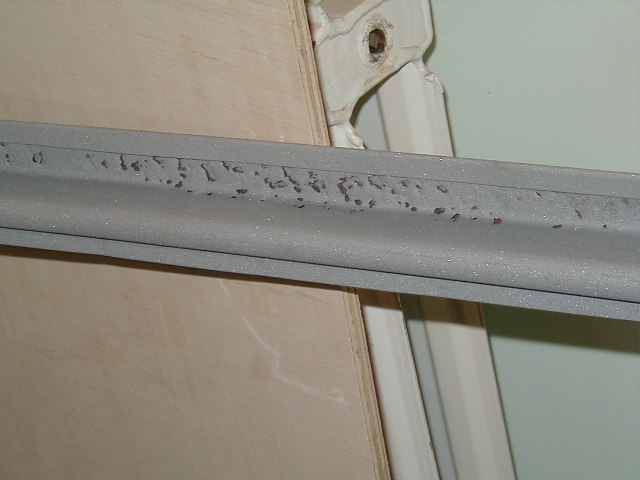
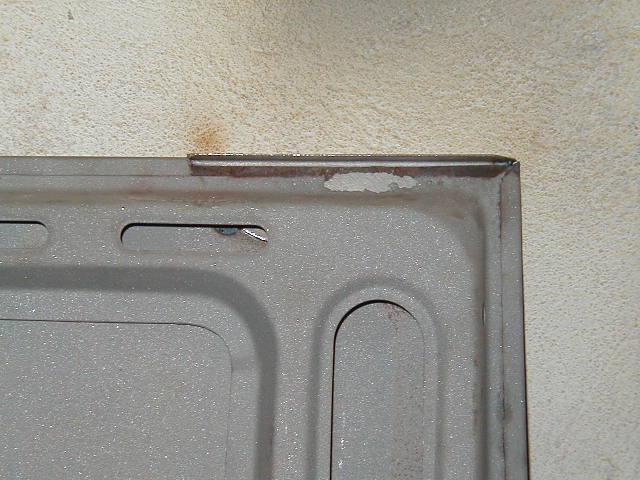
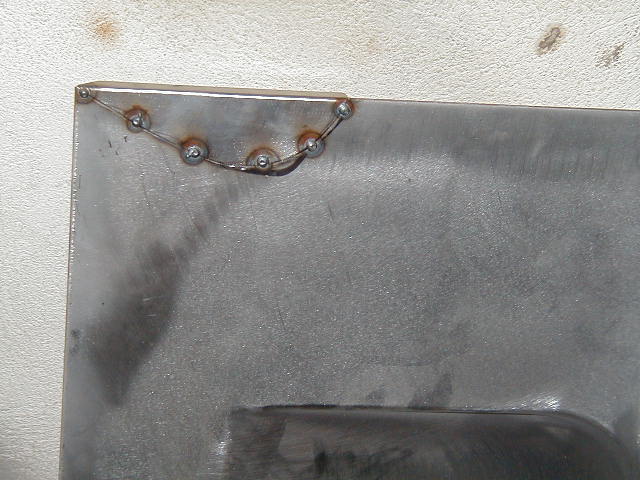
As you can see in this picture (this is the engine cover) i have had the edges of the panel sand blasted to remove all the old paint and rust. you can also see the hole that was left! Water must have sat in this corner and rusted the inner panel and skin, so i cut out a little area and made a repair panel with a folded over edge. I decided not to repair the inner panel as the edge once folded over would cover most of the damage.

This is the other side, to make this a quick and easy repair i decided to make the weld a butt joint then very gently weld in small spots.

Basically the engine cover was ok.

On the rear hatch again only a little area had to be repaired and like the engine cover i just butt welded a repair patch into place. i forgot to take pictures as the repair was very quickly done! but you can just see the area repaired its on the top edge to the right of the lock hole.

Unlike the engine cover the rear hatch was very rusty al the top, when the hatch came back  from the blaster it was full of holes at the top as you can see in the picture. At this stage i decided to run lots of anti rust paint into the top and try to stop any more rust forming, i have yet to see if this has worked!

I have got one problem with this hatch which might mean it will be replaced in the future and that is that it leaks, mainly because the top edge is very weak and was made worse by being distorted by the sand blaster!

Back

Index of repairs

Forward

Please feel free to e-mail me with suggestions or questions and I will try and oblige.

E-Mail me : fid@fid-tech-ltd.com

Links